BeeDo Desktop
(→40px How to setup Lightning / Sunbird) |
|||
| Line 113: | Line 113: | ||
[[Image:lightning08.jpg]] | [[Image:lightning08.jpg]] | ||
| + | |||
| + | == Clients for Mac (Apple) == | ||
| + | |||
| + | === iCal === | ||
| + | To setup BeeDo synchronization with iCal, follow these simple instructions: | ||
| + | * open iCal and click iCal, then choose "Preferences" | ||
| + | |||
| + | [[Image:iCal001.jpg]] | ||
| + | |||
| + | * Now choose Accounts and click "+" to add new Account | ||
| + | |||
| + | [[Image:iCal002.jpg]] | ||
| + | |||
| + | * Then fill following form with the these options: | ||
| + | ** Calendar type: CalDAV | ||
| + | ** Username: Your BeeDo user name | ||
| + | ** Password: Your BeeDo password | ||
| + | ** Server address: cal.beedo.net | ||
| + | ** and click "Create" | ||
| + | |||
| + | [[Image:iCal003.jpg]] | ||
| + | |||
| + | * That's it. Enjoy working with BeeDo. | ||
Revision as of 01:12, 16 January 2013
Contents |
 How to start using BeeDo on your phone
First of all, you have to create calendars, you wish to see in your phone and we will show you how.
Open BeeDo settings in your browser
Locate "Mobile BeeDo" in the settings menu on the left
Select zone, you would like to setup calendar for
Specify default project, where your tasks from mobile phone will be created. In the secont field - search and add yourself to see your tasks calendar. As well, you can add as many users from the zone, as you wish, to see their tasks
Important: Default project must be specified!
 Clients for Windows
- eM - http://www.emclient.com/
- Lightning plug-in for Thunderbird - https://addons.mozilla.org/en-US/thunderbird/addon/lightning/
- Mozilla Sunbird - http://www.mozilla.org/projects/calendar/sunbird/
 How to setup eM
To setup BeeDo synchronization with eM, follow these simple instructions:
- Run eM.
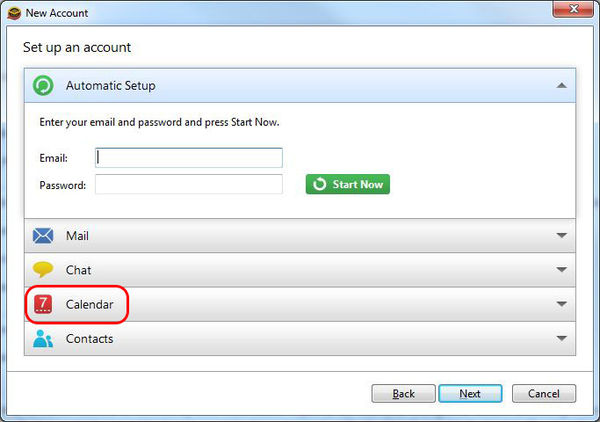
- If you are running eM for the first time - you will automaticaly get "New Account" screen, otherwise go to menu "Tools"->"Accounts" and click "New Account".
- In the "New account" screen click "Calendars"
- Now choose CalDAV and hit "Next"
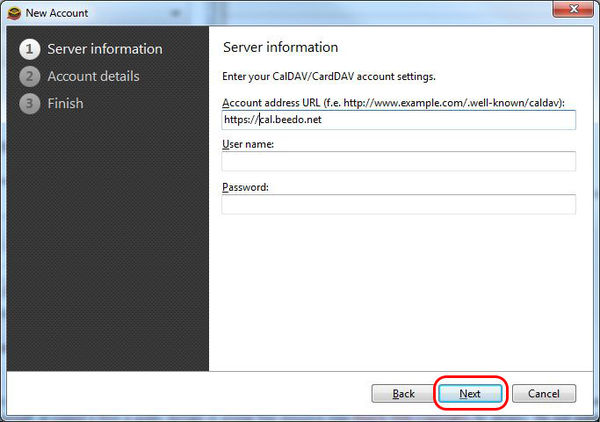
- Now let's fill in the fields:
Account address URL: cal.beedo.net
Username: Your BeeDo username
Password: Your BeeDo password
- And hit "Next"
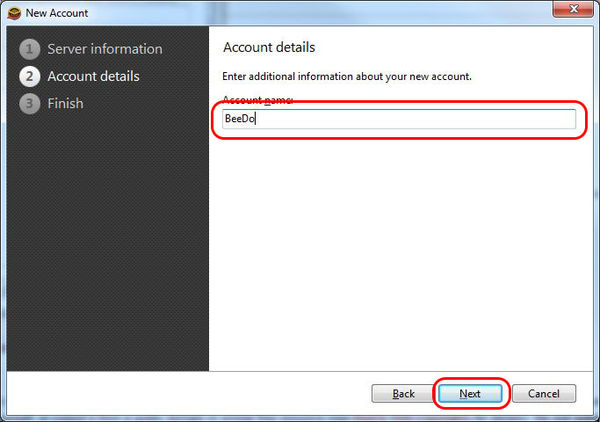
- Give a name to your new calendar (example "BeeDo") and click "Next"
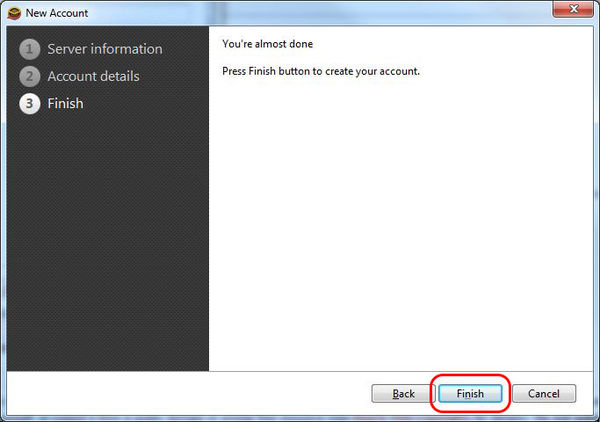
- You have completed the setup. Click "Finish"
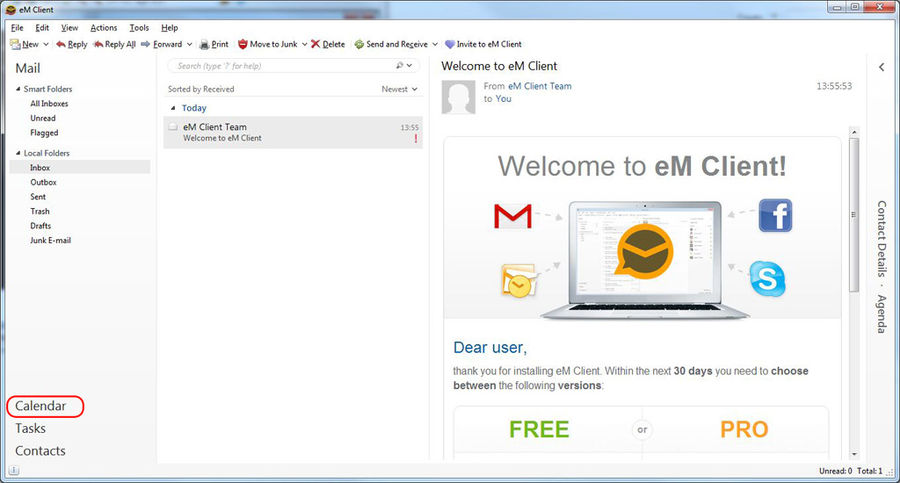
- Find "Calendar", on the left side and click it
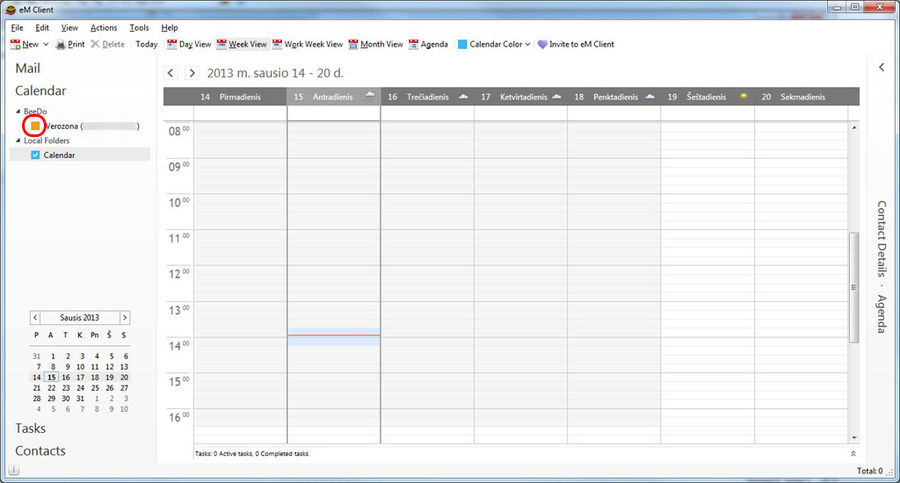
- On the left side of the window You should see a list of Your calendars. Check one of them
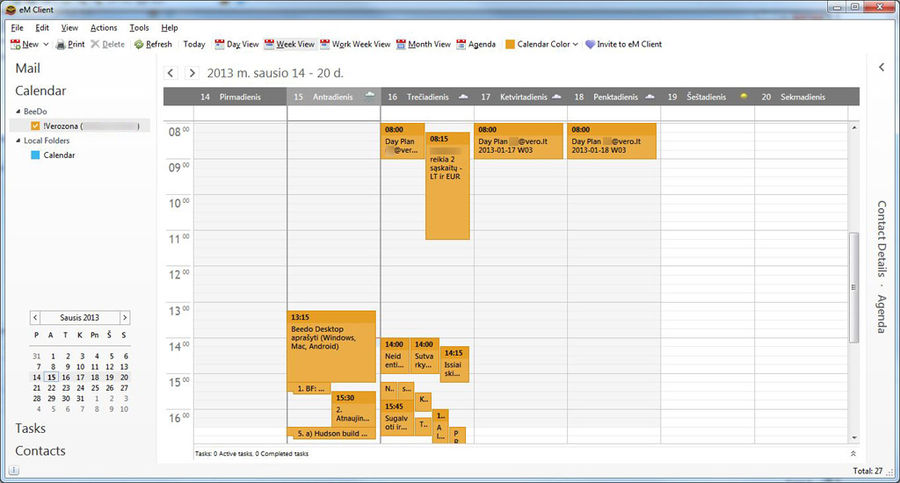
- Here You go, Your tasks and events are now on Your computer, everywhere You go, even if no internet access is available
 How to setup Lightning / Sunbird
To setup BeeDo synchronization with Lightning, follow these simple instructions:
- Open Lightning and right click near the list of Calendars. Choose "New Calendar..."
- Now choose "On the Network" and hit "Next"
- As Thunderbird does not support calendar auto discovery, for every calendar, You have set up in BeeDo, You will have to repeat all the steps.
- So we need direct URL to calendar.
- Launch your browser and open a page https://cal.beedo.net/calendars
- Log in with Your BeeDo credentials.
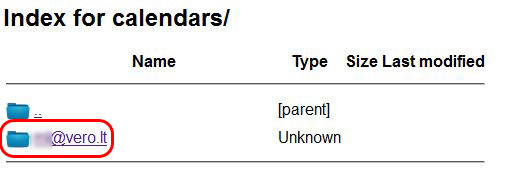
- Click on Your email
- If You have configured calendars on BeeDo settings, You should see some now.
- Click on one of them
- Copy the URL address You are at
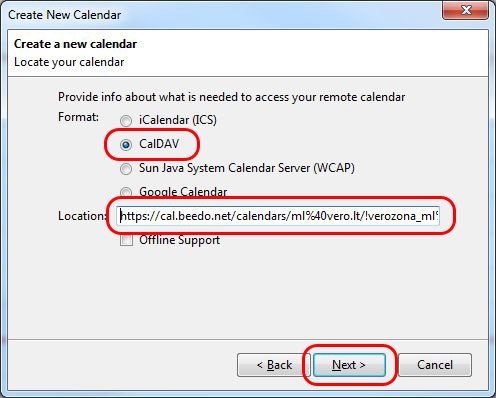
- No let`s get back to Lightning. Check "CalDAV" and in the "Location" field paste URL You have copied earlier.
- Click "Next"
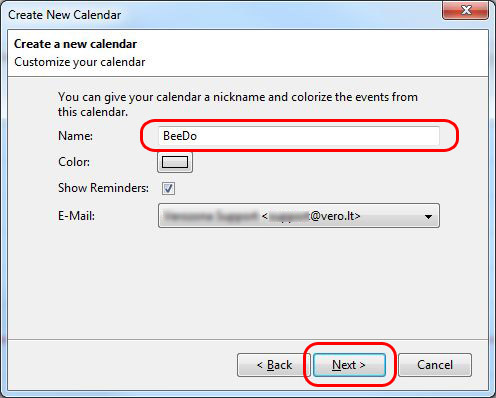
- Give a name to Your calendar (example "BeeDo").
- Choose color the tasks will be shown in and hit "Next"
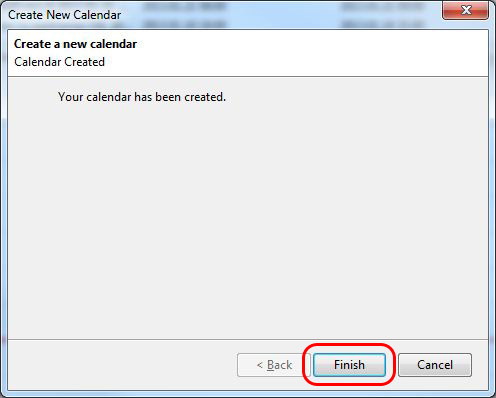
- Well done, Your calendar is ready. Click "Finish"
Clients for Mac (Apple)
iCal
To setup BeeDo synchronization with iCal, follow these simple instructions:
- open iCal and click iCal, then choose "Preferences"
- Now choose Accounts and click "+" to add new Account
- Then fill following form with the these options:
- Calendar type: CalDAV
- Username: Your BeeDo user name
- Password: Your BeeDo password
- Server address: cal.beedo.net
- and click "Create"
- That's it. Enjoy working with BeeDo.


